


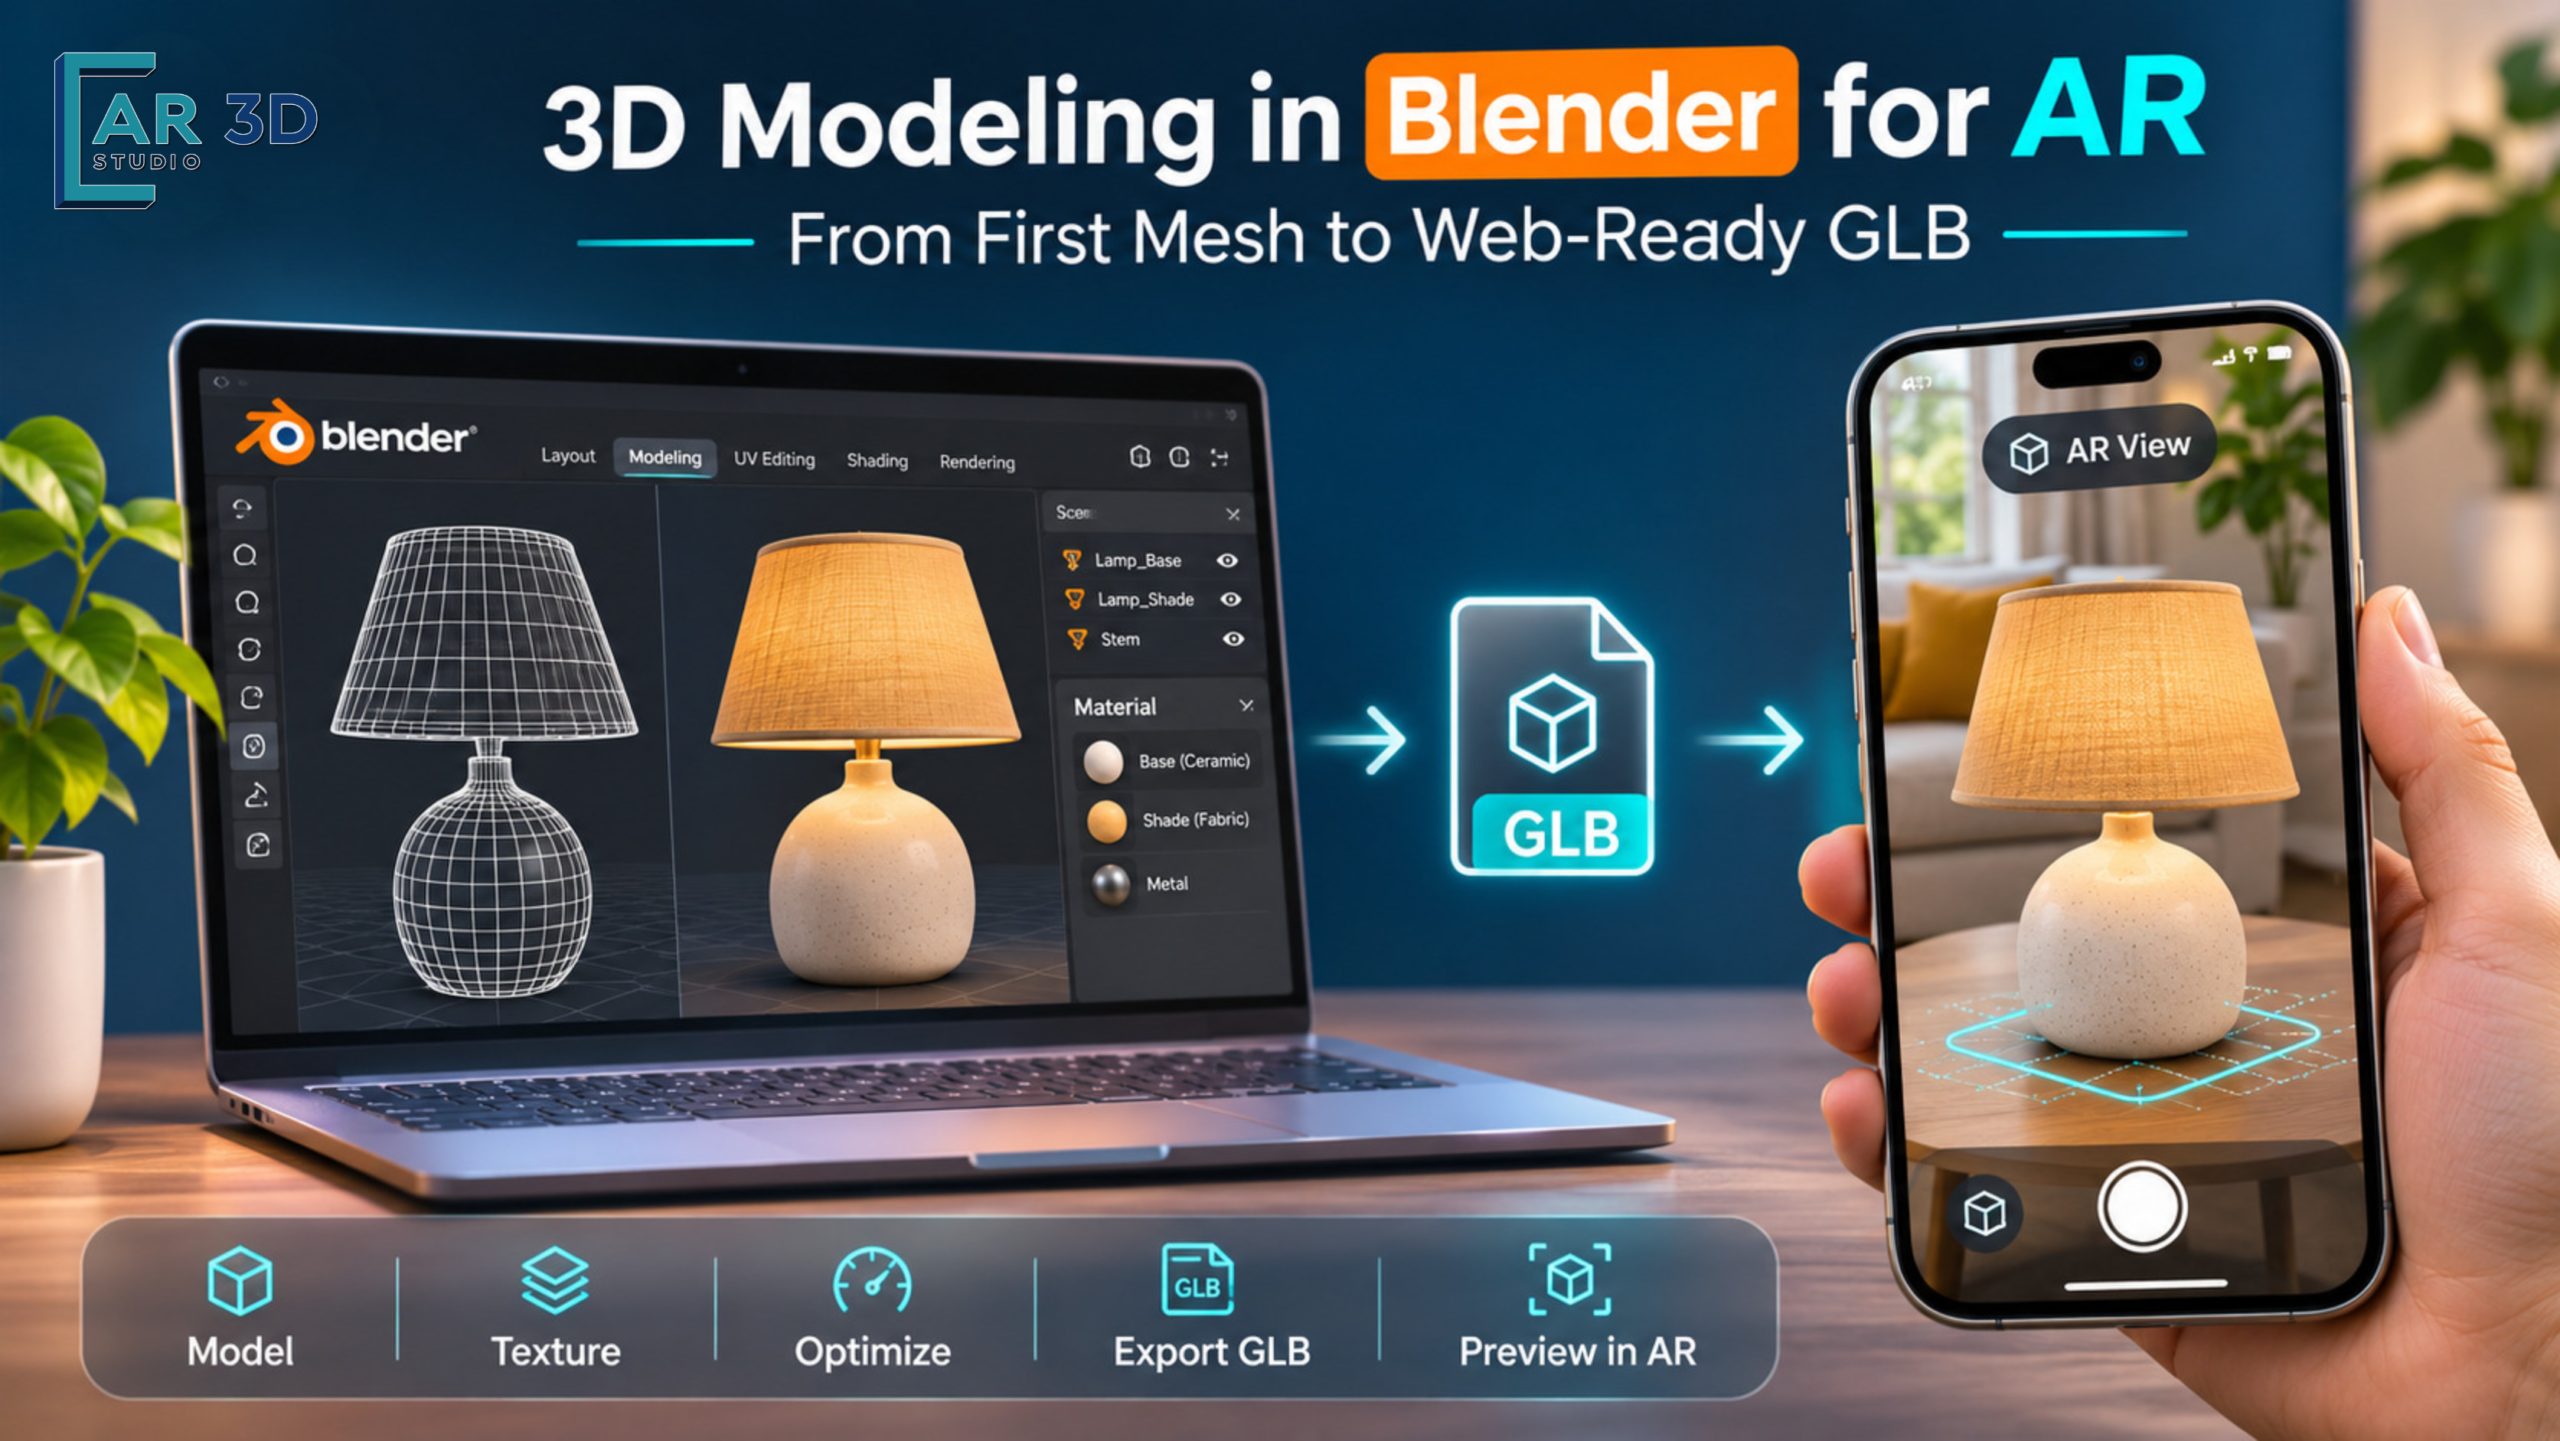
33D Modeling in Blender for AR: From First Mesh to Web-Ready GLB
A customer is browsing table lamps online. One design looks promising, but there is a familiar problem: will it look too tall beside the sofa, and will the ceramic finish work with the room? Product photos answer only part of that question. An interactive 3D view can help, while augmented reality (AR) can place a digital version of the lamp into the customer’s space.
That experience starts well before a phone camera opens. 3D modeling in Blender is one way to build the asset, but a successful AR model also needs believable scale, sensible geometry, portable materials, a supported file format, and acceptable performance on the device that displays it.
This 3D modeling in Blender guide follows one practical example—a ceramic table lamp—from basic shapes to a web-ready GLB file. It explains the workflow clearly enough for a designer to follow, while showing e-commerce teams what to request from a professional AR 3D modeling partner.
Quick answer: For web AR, model the product to real dimensions, use efficient geometry, create compatible PBR materials, export glTF 2.0 as GLB, validate the file, then test it in a real browser and on target devices. A file that looks good in Blender is not automatically ready for customers.
In This Guide
- What makes a 3D model ready for AR
- A nine-step Blender-to-GLB workflow
- GLB, glTF, and USDZ file-format decisions
- Common mistakes and a technical acceptance checklist
- When to outsource AR 3D model creation
- Frequently asked questions
What Makes 3D Modeling in Blender Different for AR?
A still render has one camera and one carefully controlled lighting setup. An AR model can be rotated, enlarged, moved, and viewed against many real-world backgrounds. Visitors may inspect the underside of a chair, the back of a bottle, or the edge of a lamp shade—places a conventional product photograph can hide.
That changes the priorities for 3D modeling in Blender. The file must represent the product accurately, retain important surface details, and load within the performance limits of the intended experience. The total download is shaped not just by polygon count but also by textures, materials, extra objects, and animation data.
| Design concern | Why it matters for AR |
|---|---|
| Real-world dimensions | The customer needs a meaningful sense of product size |
| Complete geometry | A shopper may rotate the object and inspect its back and sides |
| PBR materials | Surfaces need to respond plausibly to different lighting |
| Efficient assets | Heavy models can delay loading or hurt interaction on phones |
| Compatible delivery | Web viewers and platform-specific AR modes use different formats |
For a business using 3D modeling in Blender across an existing product catalog, the modeling task is only one piece of the process. Converting source files and preparing lightweight assets can be just as important. That is the focus of AR 3D Studio’s 3D model file optimization service.
A Practical Blender Project: One Ceramic Table Lamp
To make 3D modeling in Blender concrete, we’ll use a fictional lamp. It has a rounded ceramic base, a narrow neck, and a fabric shade. The example is educational; the dimensions and specifications are illustrative, not data from an actual AR 3D Studio customer project.
Assume the product is approximately 48 cm tall and 28 cm wide at the shade. Those measurements are not optional decoration. They determine what users perceive when a preview places the lamp next to a real sofa or bedside table.
Before starting 3D modeling in Blender, collect a simple reference pack: photographs from front, side, and rear; overall dimensions; close-ups of the ceramic and fabric; and any important color or finish references. If these are not available, mark assumptions for approval rather than silently guessing.
Step 1: Set Units and Organize the Scene
Start 3D modeling in Blender with a clean scene and save a working .blend file. Under Scene Properties > Units, select a consistent unit system. For a real product, model according to the supplied dimensions rather than enlarging the finished result by eye.
Keep the scene tidy: name objects clearly, such as Lamp_Base, Shade, and Metal_Stem. Separate reference geometry from the meshes intended for export. As you transform objects, check scale values and apply transforms where the delivery workflow requires it. A predictable origin and upright orientation will simplify the handoff.
Practical checkpoint: Measure the complete lamp with Blender’s tools and confirm the total height before adding detailed materials.
Step 2: Block Out the Main Shapes
Most 3D modeling in Blender projects do not need to begin with intricate sculpting. Use Shift + A > Mesh to add simple forms. For the lamp, a cylinder or UV sphere can become the base, a narrow cylinder can represent the stem, and a wider tapered mesh can form the shade.
Start with the silhouette. Look at the product from front, side, and three-quarter views. Does the profile resemble the references? Is the shade proportionate to the base? Do the visible openings and joins make sense?
The first goal of 3D modeling in Blender is not photographic polish. It is a convincing, measured shape that can withstand inspection from multiple directions.
Step 3: Add Only the Geometry That Supports the Product
With the proportions approved, 3D modeling in Blender moves to refining the forms. Use bevels to catch highlights around the ceramic base, add enough segments for a convincing rounded silhouette, and model visible joins where materials change.
Avoid adding subdivision levels simply because the viewport looks smoother. A small bevel can materially change how a lamp catches light; extra geometry on a hidden internal surface may do nothing useful for the customer.
Inspect the model in a solid or wireframe view. Check for accidentally duplicated faces, disconnected pieces, extreme thin triangles, and surfaces that could produce shading artifacts. Exporters and viewers can handle many valid meshes, but unnecessary complexity creates work later.
Step 4: Build Portable PBR Materials
A frequent challenge in 3D modeling in Blender is that an attractive Blender shader is not necessarily a portable web material. glTF 2.0 supports a defined physically based material workflow; highly specialized Blender node setups do not always translate into the exported asset.
For the ceramic base, use a restrained base color, realistic roughness, and subtle surface variation. For the fabric shade, define the fabric color and texture without relying on a complex procedural graph that only works in Blender. Use image textures where needed and verify the exported appearance.
A useful habit is to compare two views: the Blender material preview and the same exported GLB in an independent viewer. If the finish changes unexpectedly, the problem may be in material conversion rather than the geometry.
Blender documents its built-in glTF 2.0 import and export workflow, including the supported material features.
Step 5: UV Unwrap and Choose Texture Resolution Deliberately
UV coordinates are essential to 3D modeling in Blender because they tell software how a flat texture wraps around a 3D surface. A stretched UV island can make a woven lamp shade appear distorted even when the mesh itself is correct.
Inspect UVs on the areas customers are likely to notice, especially logos, fabric patterns, labels, and close-up materials. Keep texture resolutions appropriate to their on-screen use. More pixels are not automatically better if they substantially increase file weight without visible benefit.
For a larger catalog, 3D modeling in Blender benefits from a consistent texture naming and export convention. Otherwise, five product models made by different artists can become difficult to maintain or optimize as a group.
Step 6: Optimize Geometry, Materials, and File Size
Optimization is where 3D modeling in Blender shifts from a visually finished asset to a product that can be delivered efficiently online.
Review the model from its expected viewing distance. Remove redundant objects, reduce over-detailed features, and review whether multiple materials can be simplified. Inspect texture dimensions, duplicated maps, and image formats. Measure the exported file before and after each meaningful change.
There is no universal polygon-count target that guarantees a model will load smoothly on every phone. The right budget depends on the viewer, device, material setup, and number of assets shown at once. A single premium product viewer has different constraints from a web page displaying 40 interactive items.
If the optimized asset looks noticeably worse at the expected camera distance, the trade-off has gone too far. Good 3D model file optimization protects the details that influence purchasing decisions while reducing avoidable load.
Step 7: Export a GLB From Blender
When 3D modeling in Blender is complete, use File > Export > glTF 2.0 (.glb, .gltf). For a simple web handoff, choose glTF Binary (.glb) where available. A GLB packages geometry, materials, textures, and supported animation data in one convenient binary asset.
Before exporting, confirm the selected objects, transforms, and material assignments. Check the exporter options for your installed Blender version rather than assuming the interface is identical in every release.
Keep the editable .blend source separately. The GLB is a delivery file, not a substitute for your working project or a complete technical handover.
Step 8: Validate the GLB and Preview It Outside Blender
An important lesson in 3D modeling in Blender for AR: a successful export dialog is not a quality certificate. Run the file through the Khronos glTF Validator, which checks the asset against the glTF 2.0 specification and reports technical issues.
Then open it in a compatible web-based viewer. Rotate the lamp through a full circle. Check the color, texture seams, scale, normals, and underside. Look for missing objects or unexpected transparency.
A typical browser-based integration may use the open-source model-viewer component to provide interactive 3D and supported AR launch modes. The final implementation still needs HTTPS, supported hardware, and device testing. A desktop preview does not prove that the mobile AR experience works.
Step 9: Check Real Devices and Prepare the Handoff
The final test of 3D modeling in Blender for AR should reflect the real buyer experience: open the product page on a supported phone, load the model over an ordinary connection, and try the AR view in a realistic room.
Ask someone unfamiliar with the project to rotate the lamp, understand its proportions, and use the placement controls. Notice where they hesitate. A model can be technically correct and still have an awkward first-use experience.
A sensible handoff includes the approved GLB, editable source file if contracted, material or texture dependencies, dimensions, preview screenshots, validation results, target-platform notes, and a version identifier. That makes future updates manageable when a product’s finish or dimensions change.
GLB vs glTF vs USDZ: Which Format Should You Deliver?
After 3D modeling in Blender, choose the delivery format based on how the model will be displayed, not on which extension looks most familiar.
| Format | Best-known use | What to remember |
|---|---|---|
| GLB | Convenient single-file delivery for many web 3D viewers | One binary container can bundle geometry, supported textures, and animations |
| glTF | Open 3D asset exchange and web pipelines | Can reference separate resources that must stay together |
| USDZ | Apple’s AR Quick Look and related workflows | May be needed for iPhone/iPad AR depending on the integration |
For projects targeting iOS, review Apple’s AR Quick Look guidance. A web viewer may handle multiple AR launch modes, but a file that works in one mode may require conversion or additional testing for another.
Buyer tip: Ask the development team which platform will display the model before commissioning a large catalog. Export and QA requirements are much cheaper to agree on early than to retrofit later.
The Five Mistakes That Make a Good Blender Model Bad for AR
1. Starting 3D modeling in Blender without product measurements. A visually believable lamp placed at the wrong size can mislead customers. Keep dimensional references in the brief.
2. Exporting a complex Blender-only material. Custom nodes can render beautifully in Blender but change or disappear in a web viewer. Compare the actual exported asset.
3. Assuming smaller file size always means better performance. Download size matters, but so do decode time, texture memory, shader complexity, and the device’s rendering workload.
4. Checking only the front view. A web shopper can rotate the model. Review the back, underside, interior openings, and texture seams.
5. Treating a desktop test as a mobile test. Browser support, AR handoff, lighting, device capability, and connection speed can change the outcome. Test the intended experience rather than a screenshot of it.
AR-Ready 3D Model Quality Checklist
Use this 3D modeling in Blender checklist before accepting a vendor delivery or placing a new model on a product page.
| Check | Approval question |
|---|---|
| Dimensions | Does the model match the supplied measurements? |
| Silhouette | Are the main proportions recognizable from every side? |
| Materials | Do the exported colors and finishes match approved references? |
| UVs | Are labels and patterns readable without visible stretching? |
| Geometry | Are normals, openings, and shading free of obvious defects? |
| Performance | Is the file responsive on representative devices? |
| Compatibility | Does it work in the actual web viewer and chosen AR modes? |
| Handoff | Are formats, versions, source files, and ownership agreed? |
These checks are more valuable than approving a render merely because it looks attractive on a designer’s workstation.
When Should a Business Outsource 3D Modeling in Blender?
Learning 3D modeling in Blender through one demonstration model is an excellent introduction to the workflow. Producing hundreds of consistent product assets is a different operational challenge.
Consider outsourcing when products must follow a common visual standard, source CAD files need to become web assets, models require platform-specific testing, or your internal team is spending more time repairing files than launching experiences.
AR 3D Studio offers AR 3D model creation and 3D model file optimization. Its services address digital product assets intended for interactive uses. Teams planning animated characters rather than static merchandise can also explore the company’s Meta 3D Avatars offering.
When outsourcing 3D modeling in Blender, send product references, physical dimensions, source files, intended platform, preferred formats, target launch date, estimated catalog size, and any agreed acceptance criteria. Ask who owns testing and integration. Those details make it possible to estimate the right work instead of receiving a vague price for “one 3D model.”
Frequently Asked Questions
Is Blender good for creating AR 3D models?
How do I convert a Blender model to GLB?
.glb format. Reopen the result in another viewer and check materials, scale, and technical validation before distribution.Can I use one GLB file on both Android and iPhone?
How many polygons should an AR model have?
Why does my Blender material look different after export?
Do I need a 3D artist if I already have product CAD files?
Final Takeaway: Design for the Experience, Not Just the Viewport
3D modeling in Blender can take a product from a simple reference to an interactive digital asset. But the model becomes commercially useful only after its scale, materials, geometry, download size, and display behavior have been checked against the intended customer experience.
If you’re using 3D modeling in Blender to prepare a product catalog, refresh existing models, or reduce large files, explore AR 3D Studio’s modeling and optimization services. To discuss an actual product brief, contact the AR 3D Studio team with your drawings, reference images, device targets, and required deliverables.

Founder & CEO
Bigyan Kar is the driving force behind Geoshot Technologies and has been since its founding, leading the company’s vision in delivering advanced CAD, GIS, graphics, map illustrations, and 3D solutions across multiple industries. While Geoshot serves a wide range of sectors, Bigyan has maintained a strong specialization in golf course graphics, CAD drafting, and mapping—ensuring highly accurate and visually compelling representations for golf architects and planners. His commitment to precision, visual clarity, and innovation has enabled Geoshot to produce high-quality 3D models, detailed maps, and comprehensive design visualizations for clients worldwide. Under his leadership, Geoshot Technologies has grown into a trusted partner for architects, planners, designers, and engineering teams by continuously investing in technology, talent, and workflow excellence. His ability to blend technical expertise with creative insight has established Geoshot as a leader in premium 3D visualization, CAD drafting, and mapping solutions across diverse sectors, with a distinguished reputation in the golf design industry.